A personal, storytelling project based on street photography is something that took our attention and irritated our curiosity to learn more about it and its behind-the-scenes creative process. Gabriele Simonetta drives us through the walkthrough of his project, sharing a very interesting workflow with video examples. Don't miss it!
About me.
Hello Everybody,
I’m Gabriele Simonetta, an Italian architect, and 3d artist. First of all, I would like to thank Rebusfarm and VWArtclub for the opportunity to show my work and share some personal tips with the biggest community worldwide. As an architecture student, I began experimenting in the 3d field to showcase an exam project, and now it is my job and passion. I started using 3DS Max in 2015, and after some years of self-taught learning, I enrolled in the Digital Architecture Master Course (MADI) in Venice, which allowed me to get to know the wider world of CGI. Today I’m a freelance 3d artist as well as a Senior 3d artist at Truetopia. I also work as an independent photogrammetry and photorealism researcher, as a Photogrammetry teacher at Digital Architecture Master Course (MADI), and as an Architectural Visualization teacher at IER Master Course at Politecnico di Torino.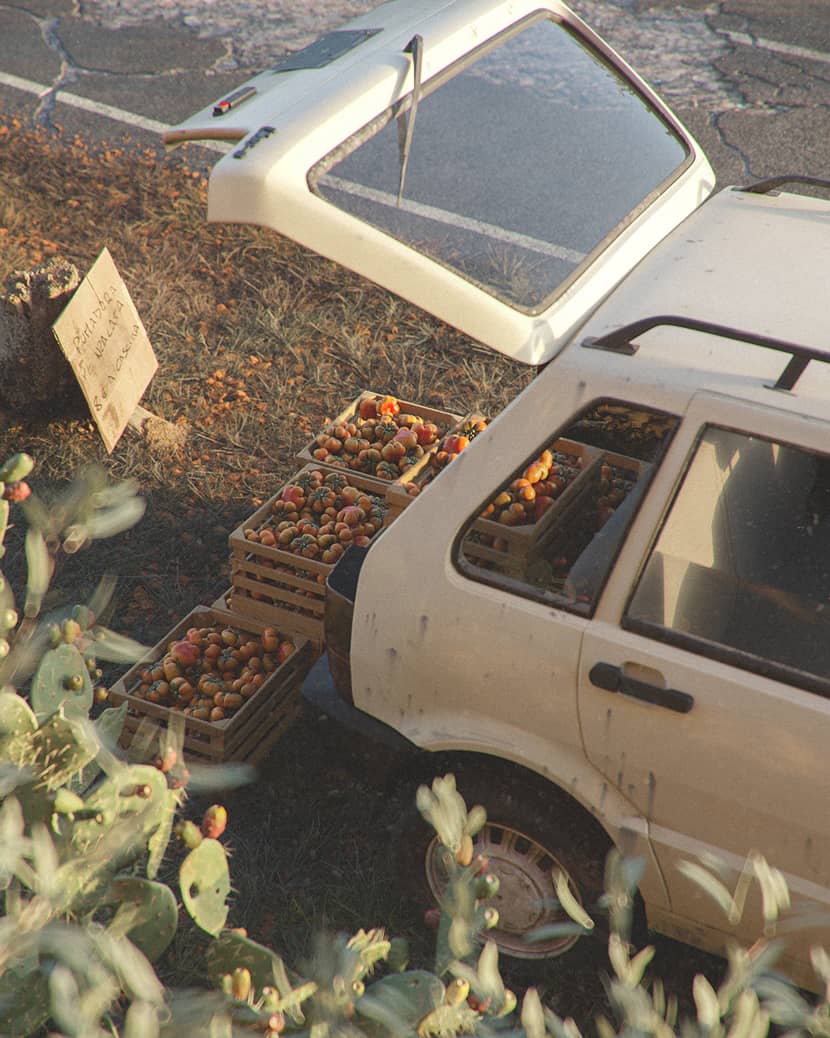
About the project.
S-GAB SUMMER MEMORIES is a personal project that tells the story of a quiet summer stroll in the Calabrian countryside in Italy, with its warm scents and the taste of the season’s last produce. It traces back to a clear memory from my childhood: coming home from the seaside, you would always come across some farmers selling their goods on the side of the street.
Software Used.
The software I used are 3DS Max, Corona Render 8, and 3DFZephyr for Photogrammetry, as well as Substance Painter and Photoshop for Texturing and post-production.
References.
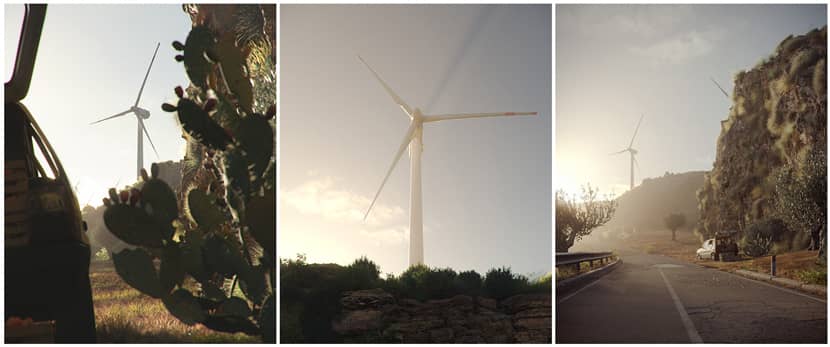
The idea for the environment and the image subject came from a picture of the landscape taken on the way back home from the beach. So the inspiration comes from a real place nestled in the hills of the Calabrian countryside between the Ionian and Tyrrhenian Seas.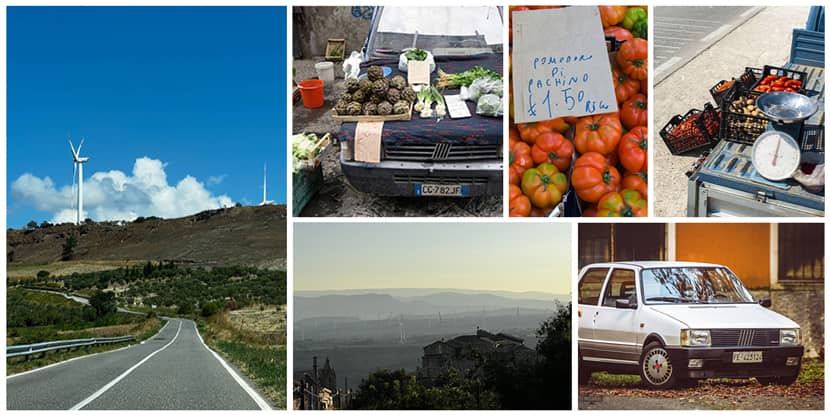
Modeling.
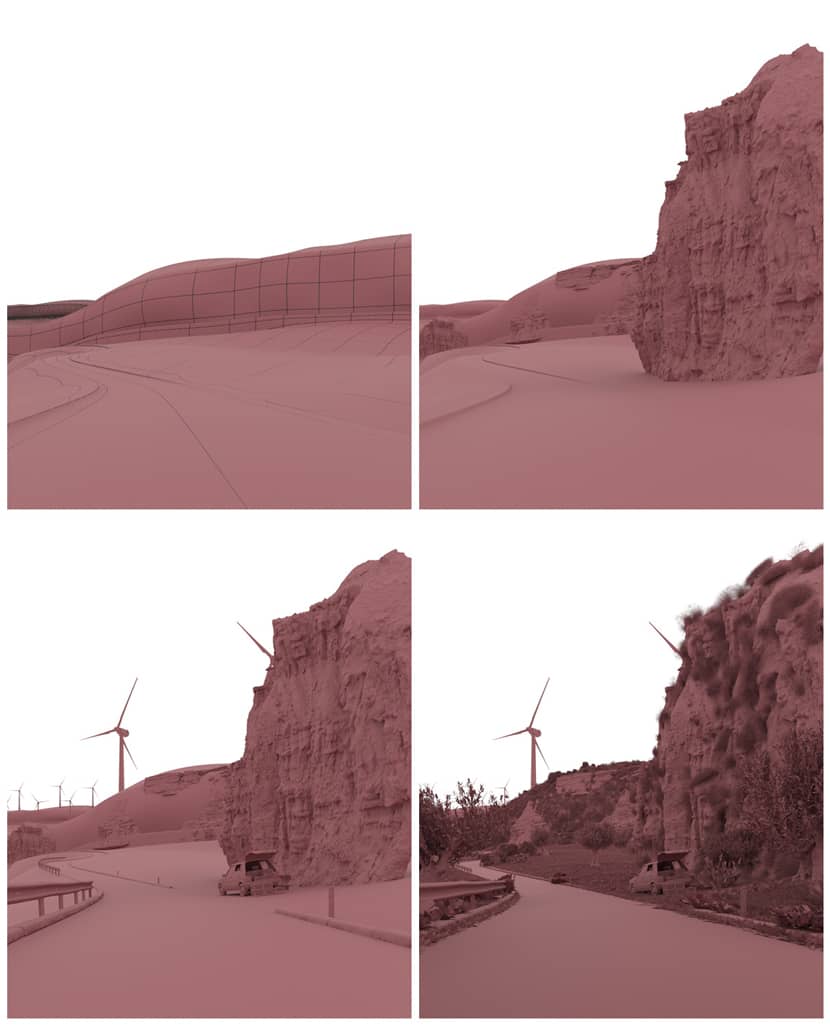
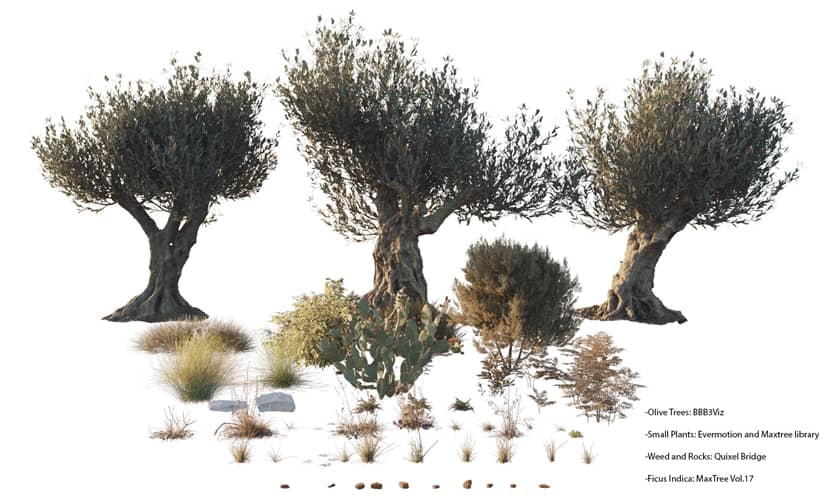
Starting from the reference from that real place, I built a terrain that included the main road and the hills. I added details to the terrain by inserting assets such as rocks and boulders taken from Quixel Megascan. I then added all artificial elements for the road and the main scene subjects, such as the wind turbines and the car. I finally inserted the vegetation covering most of the environment by using two scattering systems, both Forest Pack and the new Chaos Scatter, which allowed me to easily place some of the plants on downward slopes.
Making The Scanned Assets.
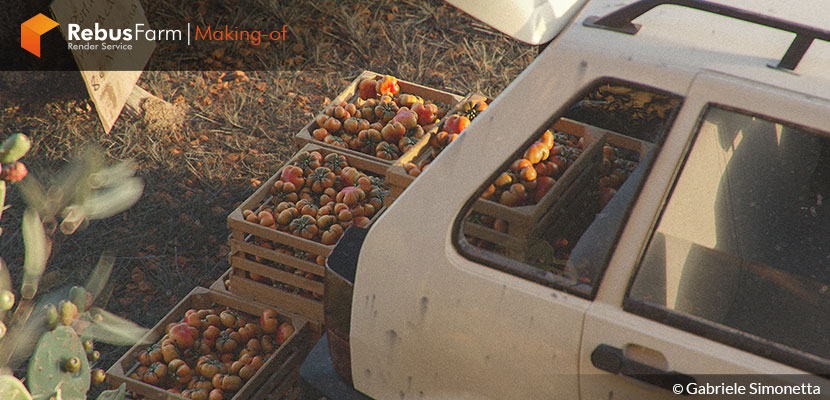
My interest in photorealism has led me more and more toward the use of photogrammetry in all of my personal projects, in which I usually scan the main subjects myself. In this project, the tomatoes were digitized with photogrammetry techniques and processed with 3DFZephyr. The mesh was then cleaned with Zbrush, while the materials and textures were reproduced with Substance Painter.
I subsequently arranged the tomatoes in the wooden crates with Tyflow.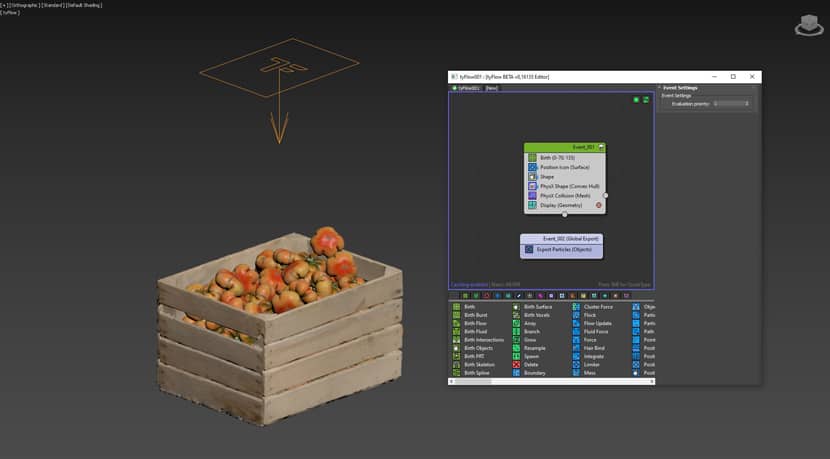
Atmosphere & Composition.
The visual approach I chose is connected to the experience of discovery during a journey: you start by seeing some details and step-by-step have a whole scenery disclosed before you. To highlight this concept, I used a framing technique for the two main images, which helps to put the spotlight on the main subject. I also applied the rule of thirds, which is the basic composition scheme for all the images.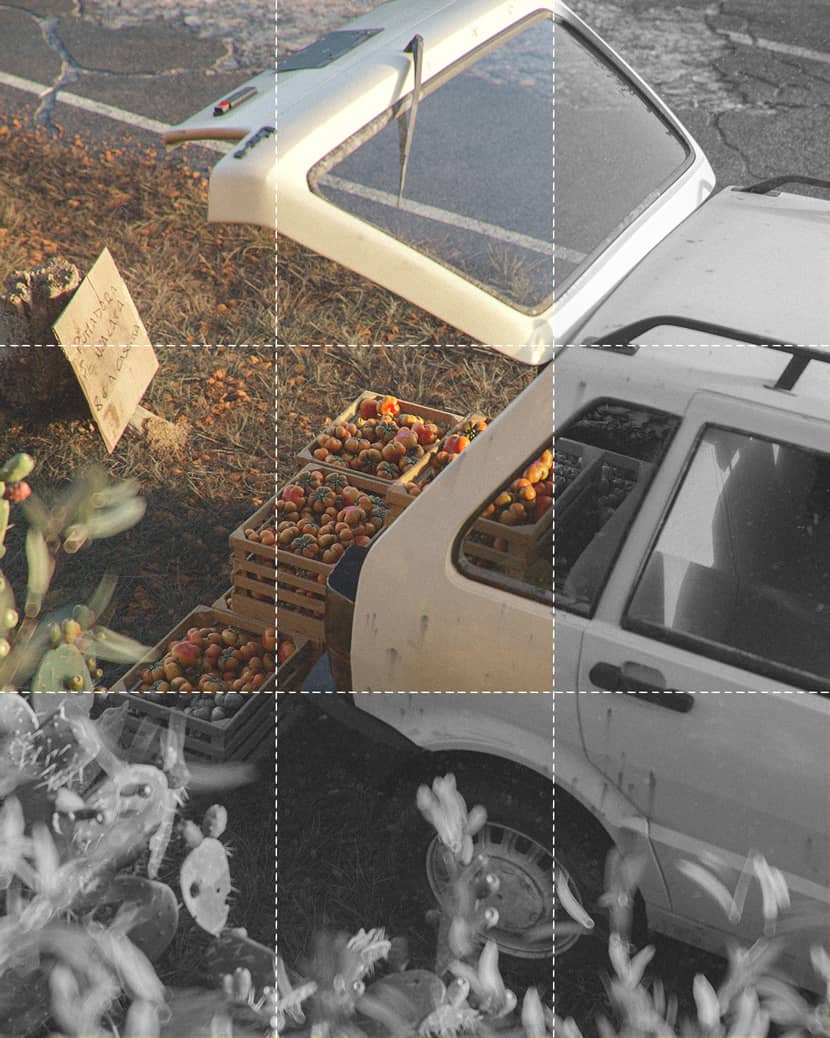
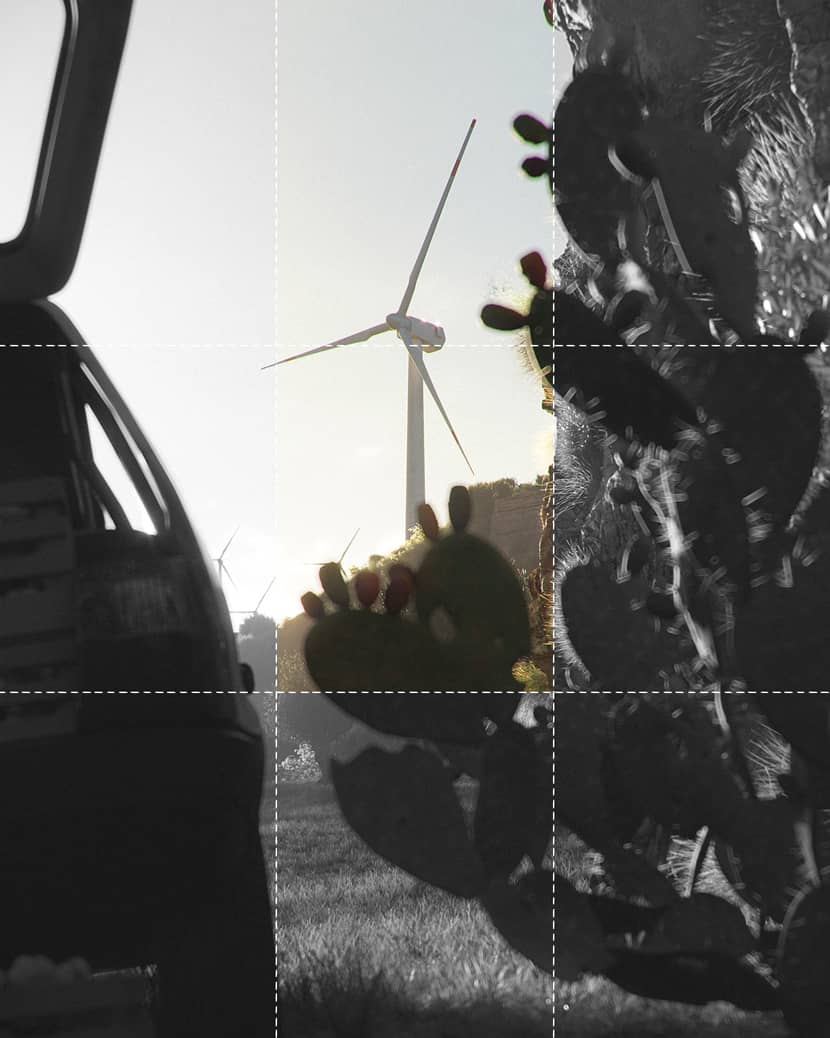
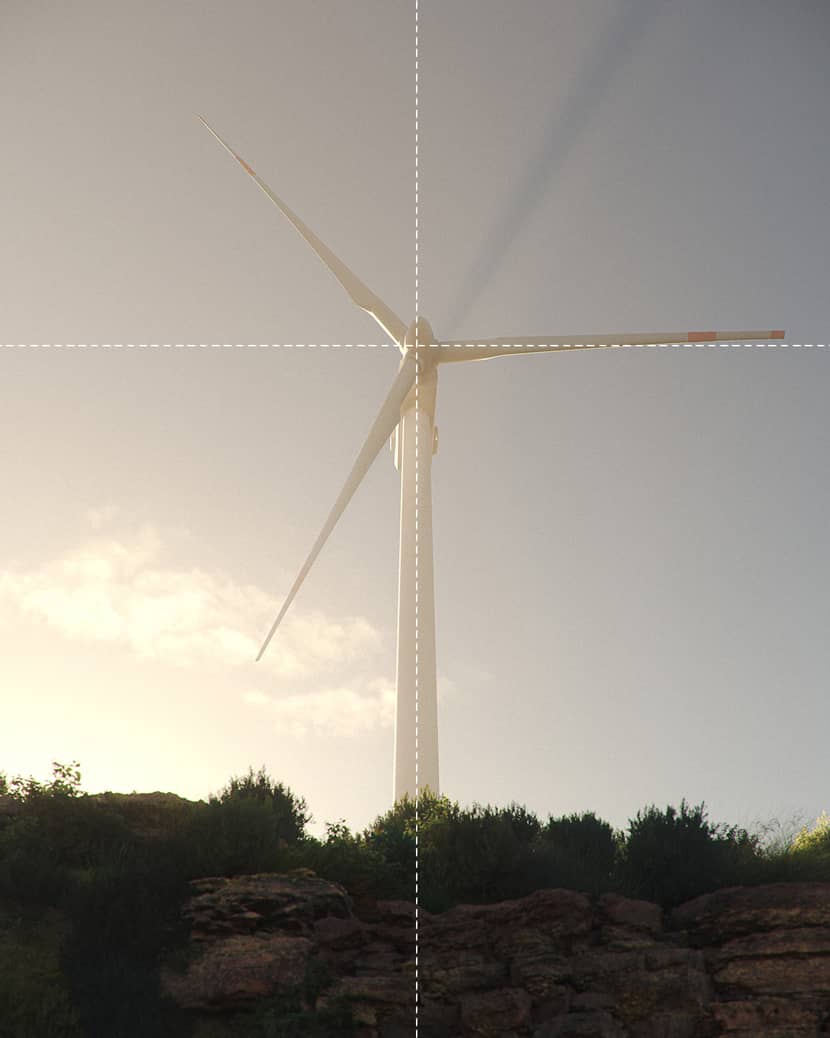
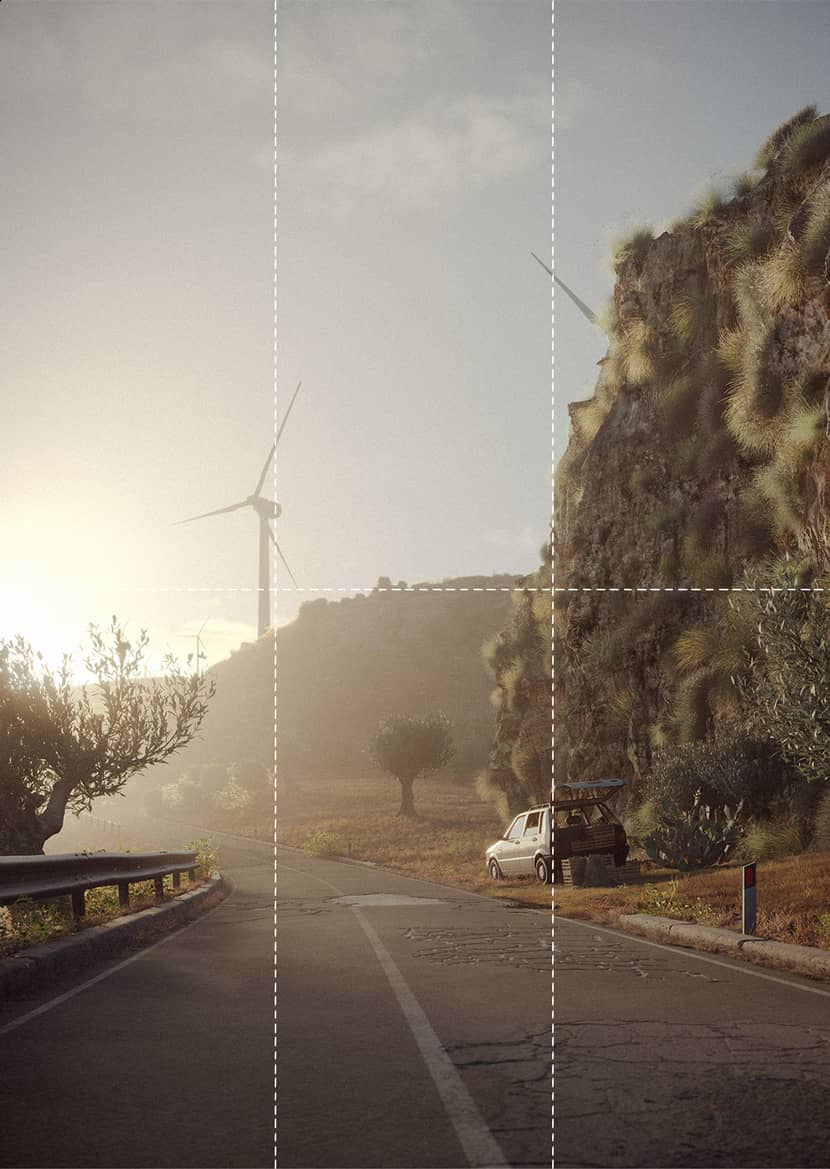
To recreate a scorching hot day just before dusk, I used an HDRI by Peter Guthrie combined with volumetric light and volumetric scattering to simulate dust. The inspiration for adding this detail came from a remarkable work by Marek Denko, in which he added specks of dust on Lego bricks.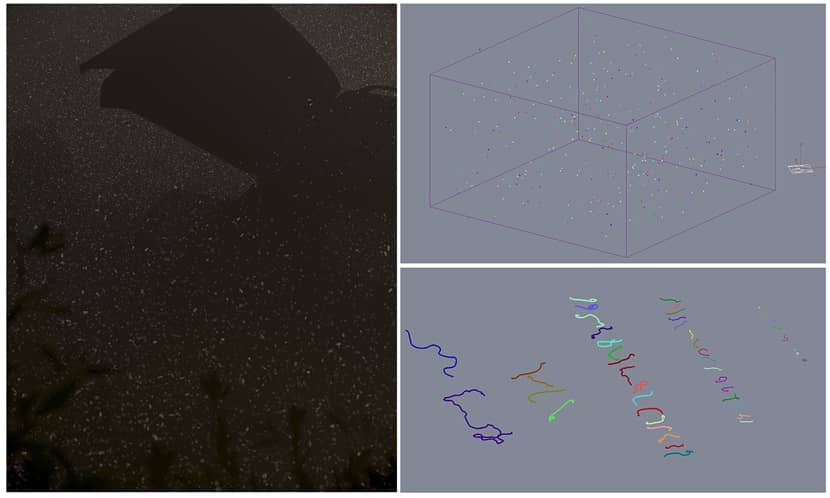
Materials.
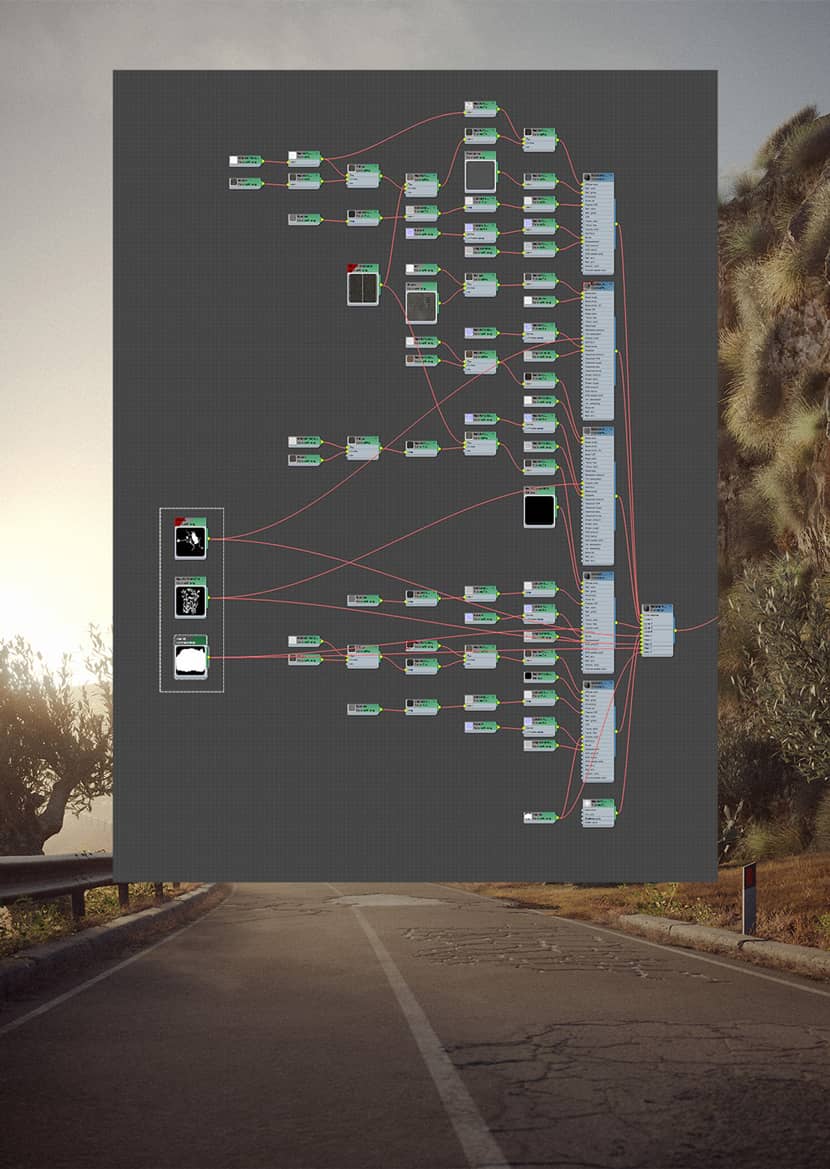
The whole environment was created with materials from Quixel Megascan. The biggest challenge was to build the road surface and the terrain. I handled it with a Corona Renderer layered material and I used Megascan decals to recreate the worn-out aspect of a main road.
The materials of the car then required a separate workflow and were recreated with Substance Painter. I began using the Machinery smart material to detail the effects of aging on the car body, then adding dirt and corrosion on occlusion areas.
Post-Production.
Although I’m not a big fan of working in post-production, I always try to get the best out of the Frame Buffer. The post-production workflow was simply made up of camera Raw corrections and the addition of chromatic aberration on the images.
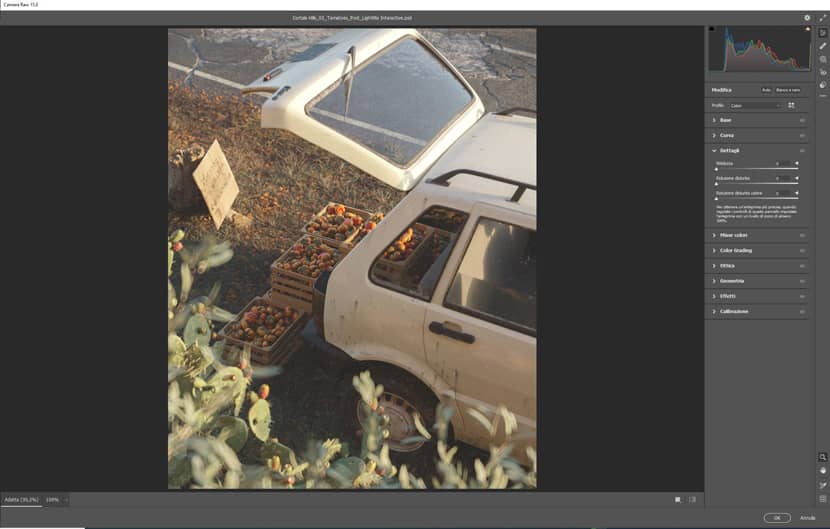
CLICK TO ENLARGE THE IMAGE.
That's all! Thanks again to Rebusfarm and VWArtclub for the opportunity. I hope you enjoyed my project walkthrough and hopefully found it useful for your future work. I’m available to answer any questions, please connect through the links below:
With kind regards,
Gabriele Simonetta.
Check more of Gabriele's work on these channels:
Want to share your work with our community too?
Contact us at This email address is being protected from spambots. You need JavaScript enabled to view it. and tell us about your favorite project.

