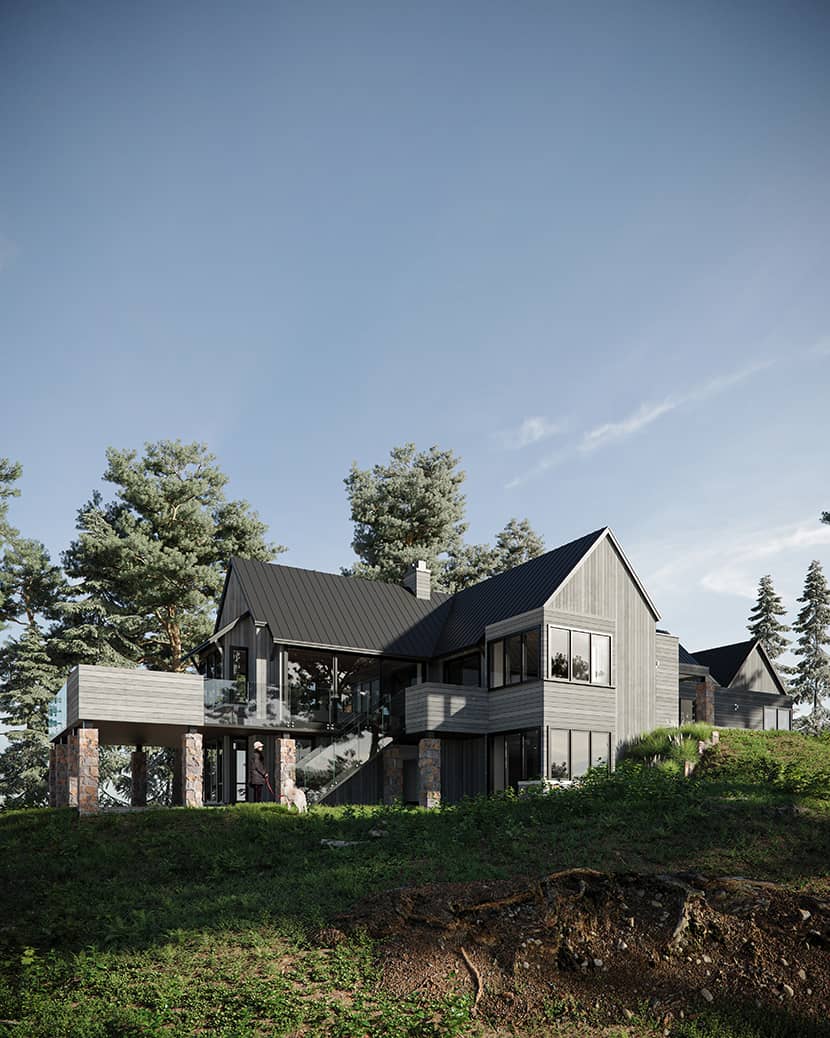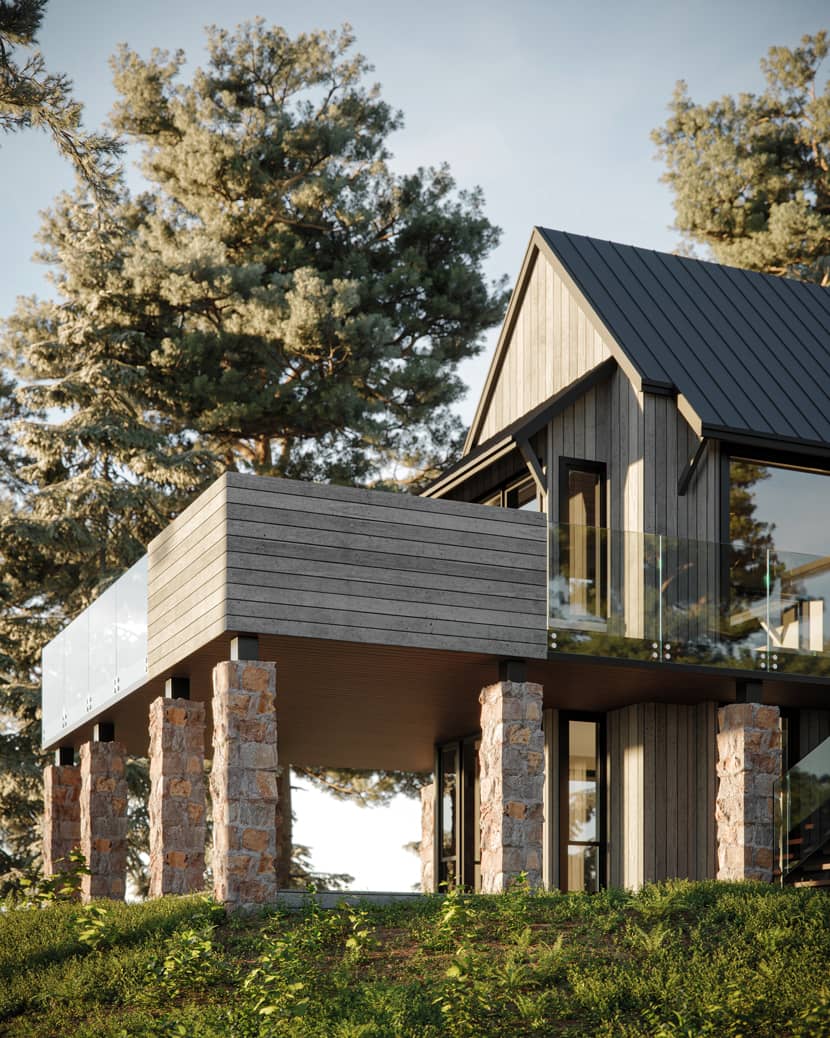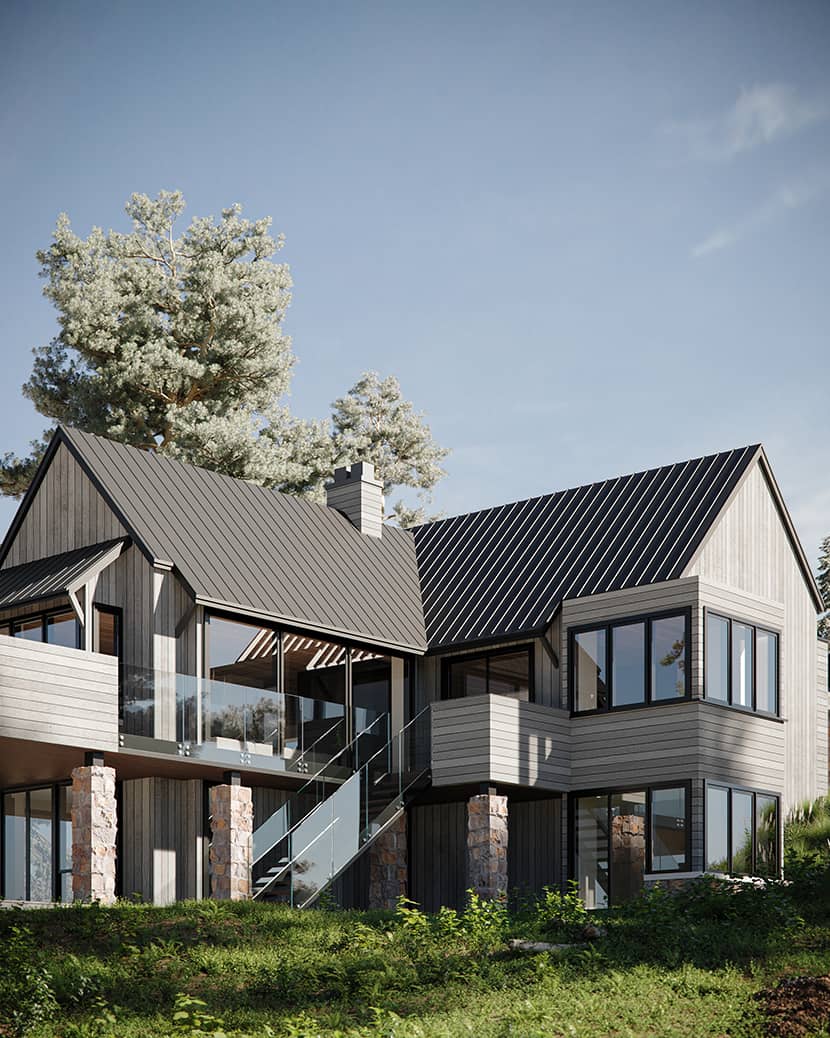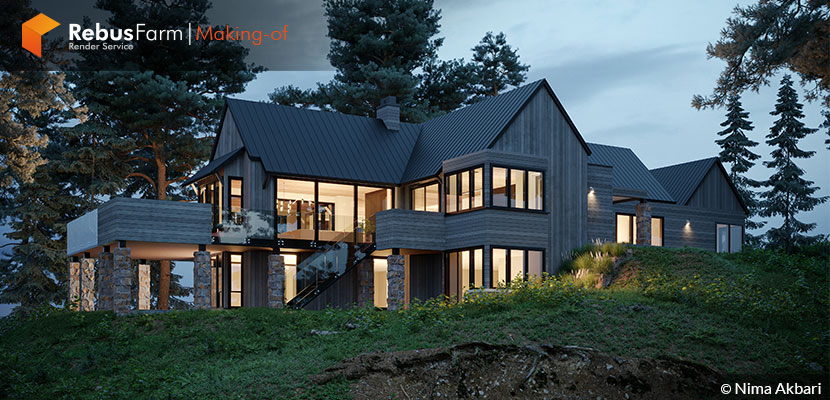
Nima Akbari always tries to offer his clients the best possible results according to the timeframe he has and when it's kinda short, then lighting becomes crucial. A small, commercial, architectural visualization project with some personal touches. Enjoy the article!
About me.
Hi 3D community,
My name is Nima Akbari, I am a 3D Artist for more than 12 years with many personal and commercial projects. I live in Iran and I work here as a freelancer in the architectural visualization and interior design field. I always try to watch tutorials for improving my skills and usually try to make new renders in my leisure time cause 3DS Max and CG software experiments are my hobbies.
About The Project.
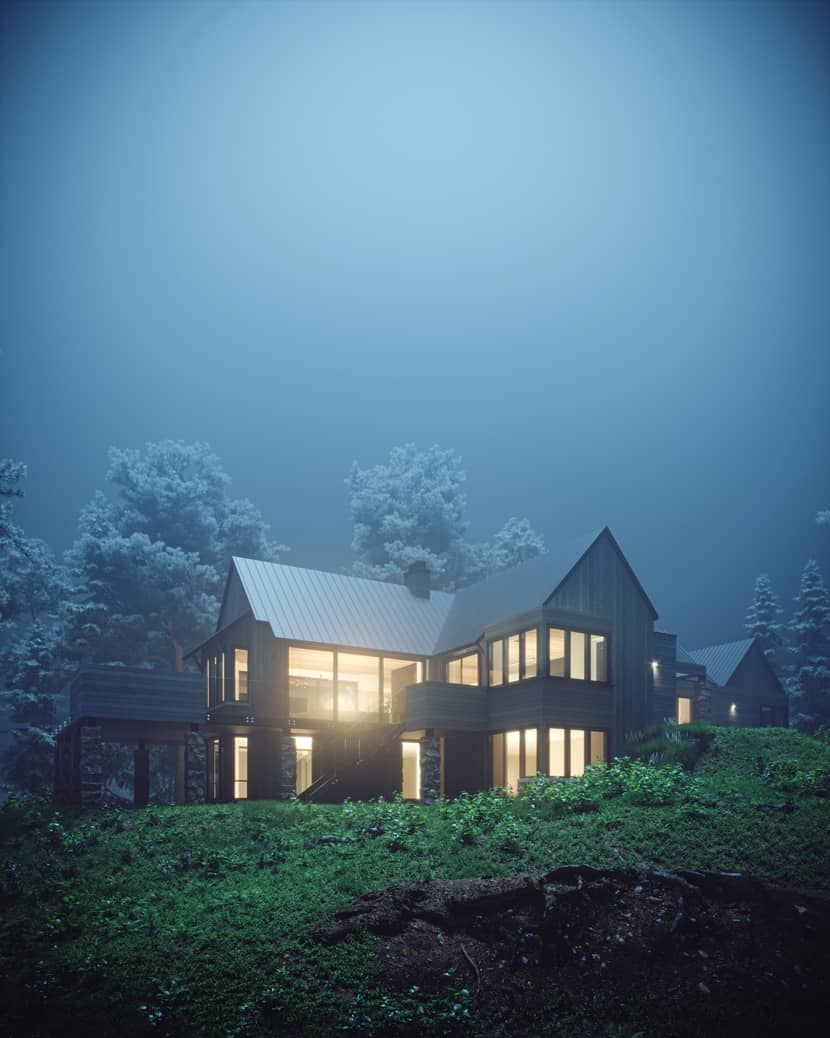
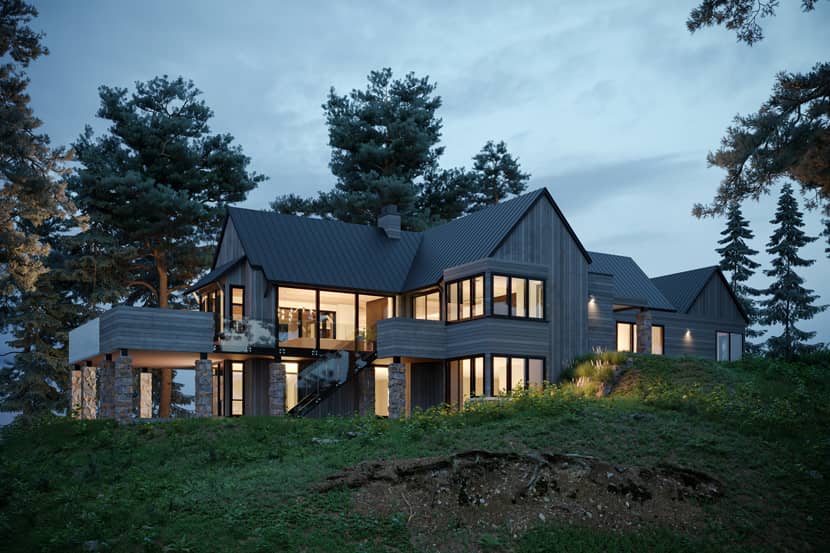
This project is one of my commercial projects that was done about a year ago. It is a house located in Canada, Toronto near sparrow lake, and was designed by a Canadian architectural Group. I only did the visualization part of the project. From the day that I received the model of the house and terrain, I had about 4 days to prepare the first send. I did the environment, lighting, and texturing in the best possible way and this is the time that you should request help from your experiences. As this project was not a personal one, and I didn't have enough time to play a lot with textures and lighting I was obviously limited, so I had to use simple materials and lighting, trying to apply them as well as I could. All of the renders in this project were rendered for the client except the foggy one that I did after the final delivery just for fun and as a part of my portfolio.
Modeling.
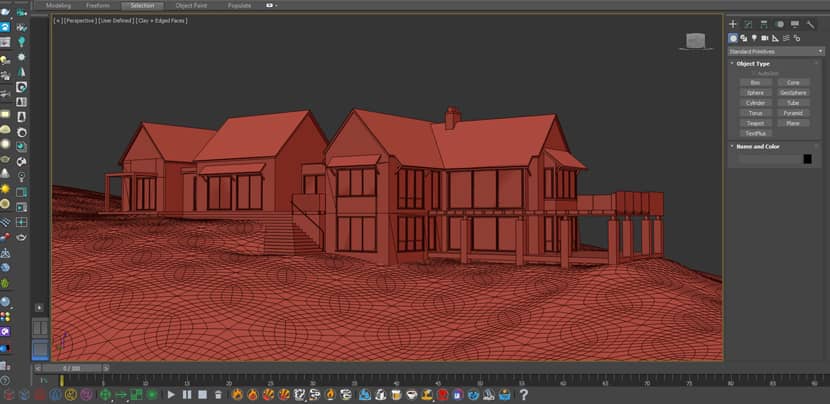
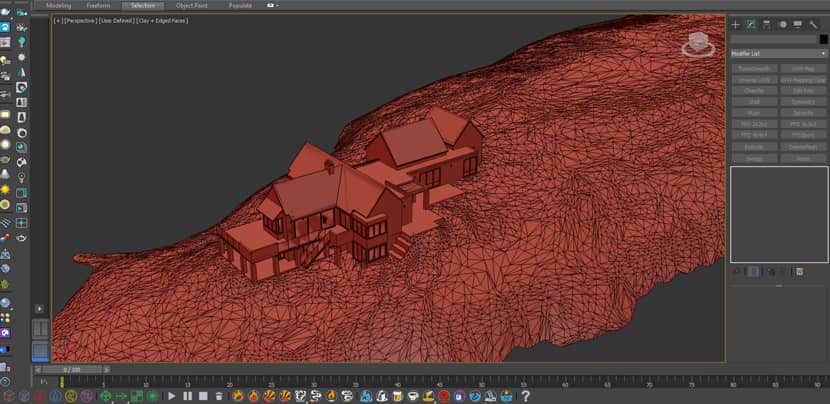
As I already mentioned, the modeling of the house was not a part of my job and I received the ready-made model from the client in order to start working on all the rest. I leave some screenshots below just to see the simplicity of the 3D model which hadn't any complicated modeling parts.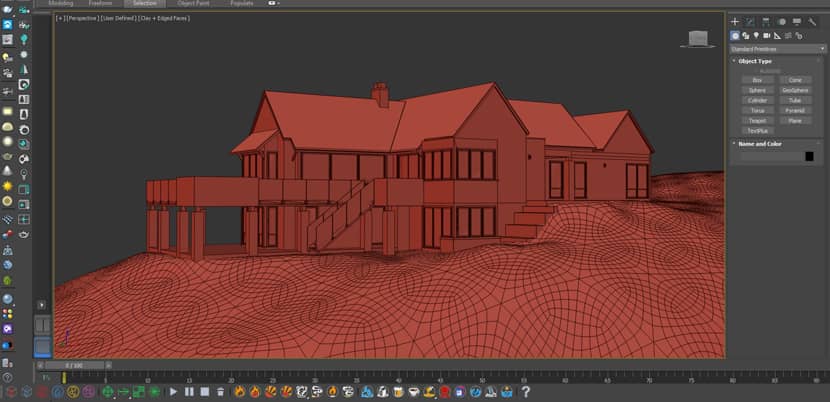
Environment and assets.
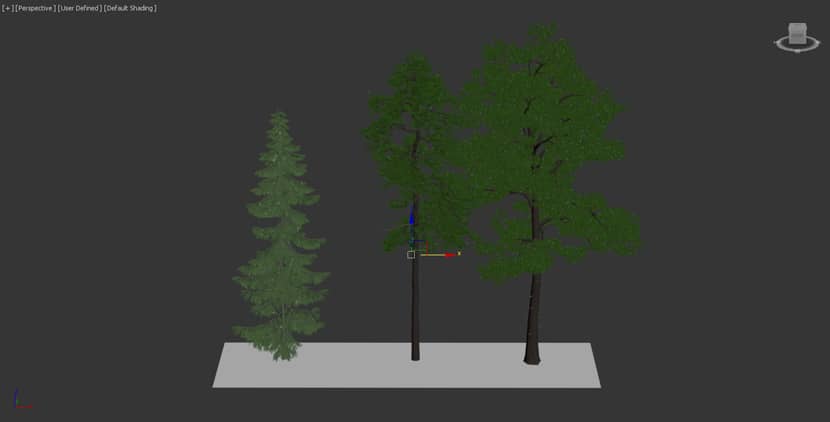
Before doing this part I asked the client to send me some photos of the location and the environment around it. I wanted to find out what kind of plants and trees are grown there. After that, I searched my library to find the best assets and plants which are close to the real ones. For trees, I used Archmodels 219 which is one of the best packs for pine trees. For plants and debris, I usually use Maxtree. I also decided to use vol.27 and vol.20 which are very good for this kind of greenery. Stones and debris were imported from Evermotion scan assets, however, I also used Megascan assets for the ground path that is near the camera as far as Quixel models which are very detailed.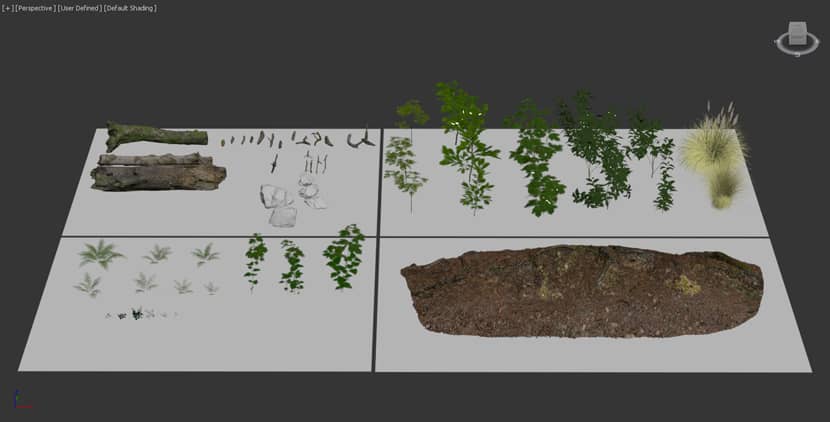
Scattering.
For this part, I always use the Forest Pack plugin because it is perfect and easy to handle. First, I categorized the plants into 3 clusters (Big plants, Medium plants, and Small plants) and I created 3 forest packs for them. After having a good result for each category I did the next one until achieving the desired result and finally, I created a new one for debris like stones and branches.
Materials.
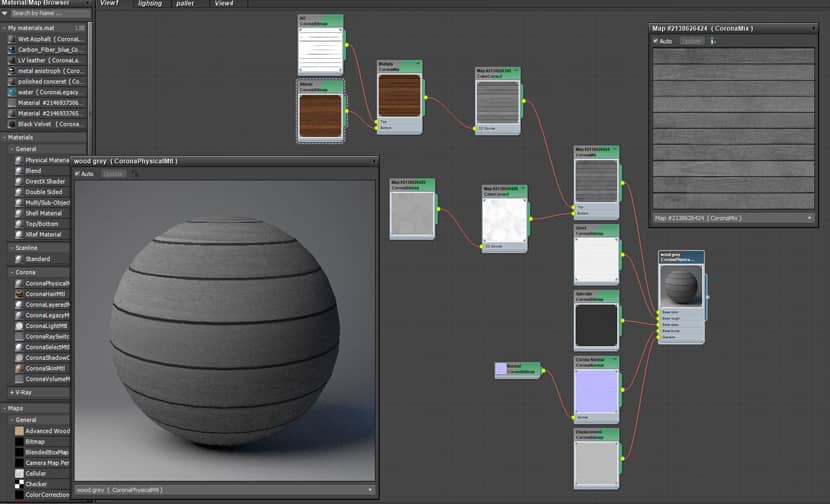
For this part, I always use the Forest Pack plugin because it is perfect and easy to handle. First, I categorized the plants into 3 clusters (Big plants, Medium plants, and Small plants) and I created 3 forest packs for them. After having a good result for each category I did the next one until achieving the desired result and finally, I created a new one for debris like stones and branches.
Lighting.
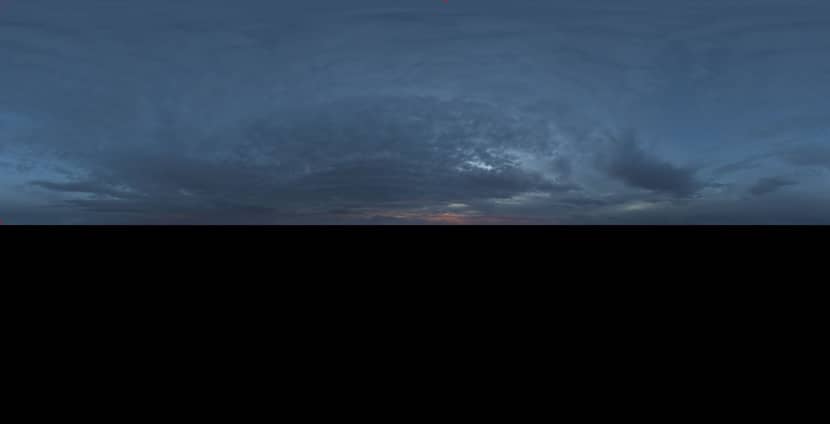
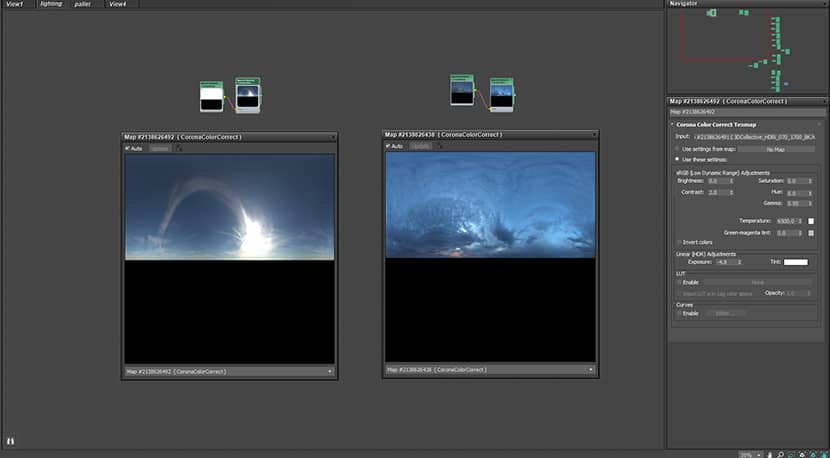
One of the most important parts of this project was lighting. With appropriate lighting, you can totally change the mood and take your work to another level of quality. So I tried to take more time for this phase to play with lighting and choose a good Hdri in order to give me the result that I was looking for. I usually choose the Hdri of my projects from the 3D collective pack which is wonderful and has many Hdri maps for all the moods and times of the day. After choosing a suitable one and sun direction I added a corona color correct to it and changed some parameters to get better results. You can see them in the photos below.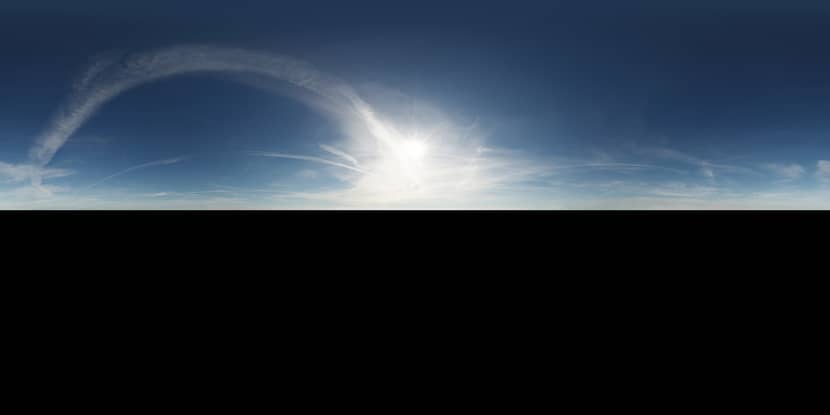
CLICK TO ENLARGE THE IMAGE.
Post-Production.
Most of the time, I achieve what I want in the Corona image editor unless I want to add some personal touches to the scene as I did in this project. In this case, you can use a suitable photo to match the lighting on the scene and the mood of the weather according to the location of your project. As this one is located in Canada which is a cold country, I found the right person that was appropriate for the location and also the sun's direction.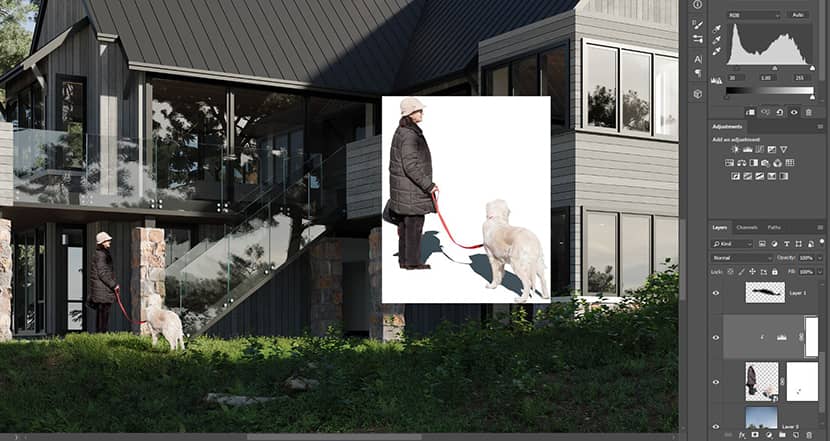
CLICK TO ENLARGE THE IMAGE.
Final Images.
Kind regards,
Nima Akbari.
Check more of Nima's work on these channels:
Want to share your work with our community too?
Contact us at This email address is being protected from spambots. You need JavaScript enabled to view it. and tell us about your favorite project.

