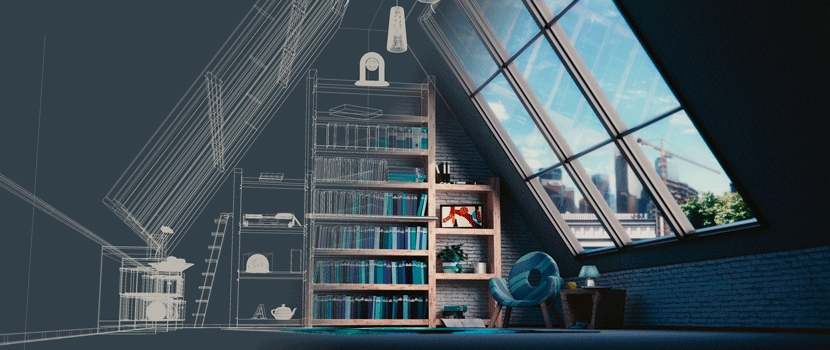
Blender has you covered if you're looking to turn your animated creations into attractive videos. We'll walk you through every step of the process, from setting up your animation to optimizing your rendering for the most efficient results, in this blog post. We'll make sure the following guide is not only informative but also easy to follow to render your animation as a video in Blender.
Introduction
To begin with, Blender is an open-source 3D software that offers a wide range of tools for modeling, sculpting, rigging, animation, rendering settings, compositing, and more. Light trees now require less memory and can be compiled 10 times faster; dense meshes load 5 times faster, and UV maps load 60 times faster.
On September 27, 2023, Blender updated Apple Silicon GPUs, AMD GPU raytracing, and Intel GPU and CPU raytracing for rendering simultaneously with the 3.6 LTS release.
Now that you're aware of the most recent Blender rendering upgrades, let's take it step by step and prepare the rendering settings for your animation.
Preparing Your Animation for Rendering: Scene settings
Rendering your animation as a video in Blender is a rewarding process that allows you to share your creative work with the world. If you use the methods and guidance in this article, you'll be well on your way to creating wonderful visualizations.
Prepare to put your ideas into action and share your vision with others. Before diving into the technical aspects of rendering, it's crucial to set up your 3D models and animation correctly. Here's how things get started:
Compositing Settings: If you want to do some compositing, go to the top menu in the Blender software and select the compositing option.

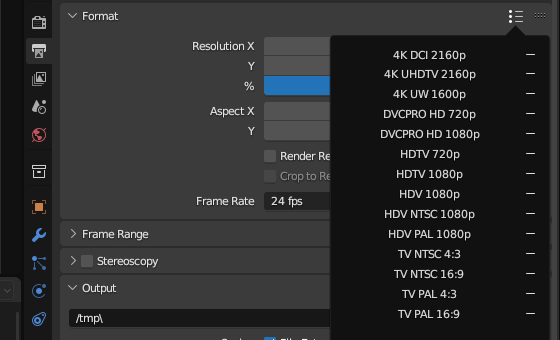
Format Resolution: Set up your video resolution, such as 1920 x 1080.
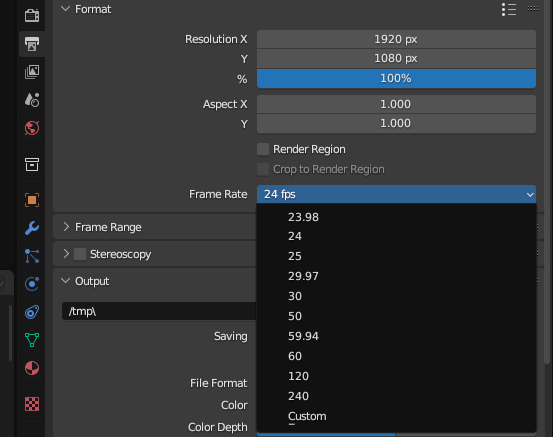
Frame Rate: Choose a frame rate from 24 frames per second to 240 frames per second, or customize. We recommend using the standard of 24 FPS.
Preparing Your Animation for Rendering: Output settings
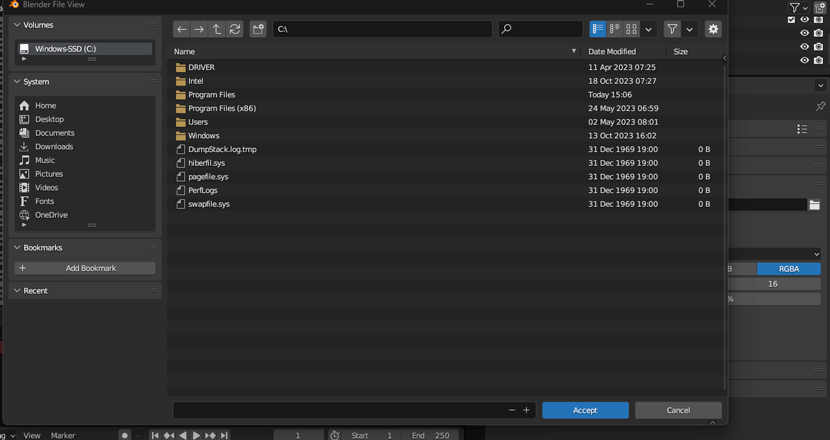
Go to the "Render" tab and adjust the settings according to your project's requirements. You can specify the resolution, output format, and quality: Choose the directory where your rendered video will be saved or create a new folder:
Choosing the Right Render Engine
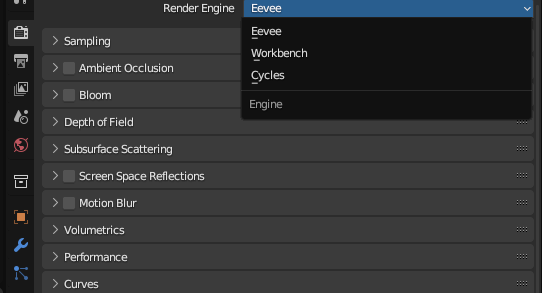
Blender offers different rendering engines, such as Cycles and Eevee. Select the one that suits your project's needs and provides the desired level of realism. Cycles is an offline renderer that makes use of 3D data to create realistic scenes, whereas Eevee is an online renderer that produces scenes in real-time.
Cycles works as an unbiased path-tracing rendering engine for Blender that is purely physically based. It can be used with CPUs or GPUs to produce visually beautiful end sequences and animations. In contrast to Eevee, it only supports GPUs. Besides that, Cycles is one of the most flexible engines utilized in modern 3D software.
Video editing on Blender
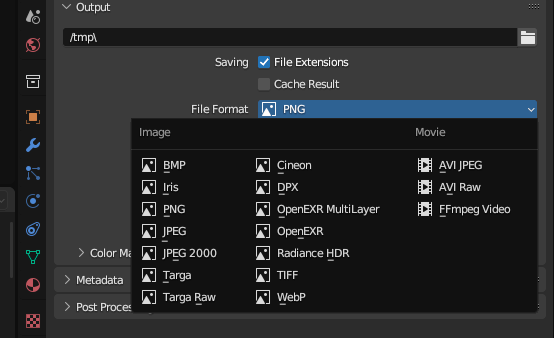
When it comes to rendering animations, efficiency becomes essential. Here are a few tips for setting up the rendering process in Blender: We recommend using the PNG file format because if you choose to render as a video file format, and it fails, your project will turn into a corrupted file if Blender crashes.
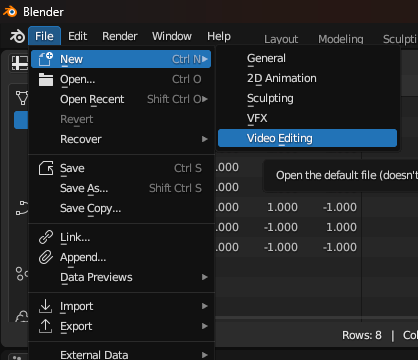
To turn all the rendered images into a video file, you must utilize Blender's video editor, which is thankfully provided by Blender. You will create a new file and choose video editing.
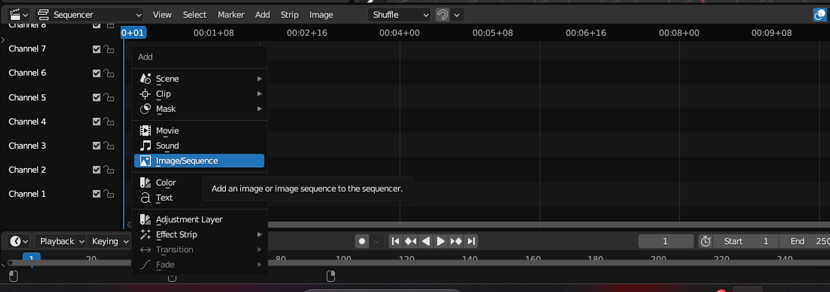
Now, hit Shift+A to bring up the next video editing option. You can choose the image sequence and open the rendered image files. Your visual sequences will be placed inside Blender, however, it is critical to sort the images by name and put them in the image strip.
Now go to Scene and double-check that everything is still set to 1920x1080 and 24 frames per second, as it was at the start. Then, in the Output Video, pick the video file format FFmpeg Video and set the Video Codec to H.264, Output Quality to Medium Quality, and Encoding to Good.
To finish rendering your animation as a video format in Blender, you can set it up using Audio Codec as AAC, or if the animation does not contain any audio, pick No Audio.
Conclusion: Enhancing Your Animation Rendering Skills
Congratulations! You have learned how to render your animation as a video in Blender. Rendering takes time, but with the appropriate techniques and settings, you will get spectacular results.
Rendering your animation as a video in Blender is a satisfying procedure that allows you to show the world your creativity. You'll be well on your way to producing outstanding animations if you follow the techniques and tips in this article.

About the author
Nicole Holt is an experienced 3D enthusiast with a career in marketing and content writing. Thanks to this unique combination, she is able to showcase the technical intricacies of 3D art and rendering while also making the subject accessible to a wide audience. When she's not immersed in the digital world, Nicole can be found in the great outdoors, most likely with her beloved dog, Sammy.

