4.1 How to render online using 3ds Max and RebusFarm?
How to submit a job using 3ds Max
Our RebusFarm software is directly integrated into your 3ds Max software. You will need our software to render online on our farm. You can open the Rebus setup window via three ways: the menu 'RebusFarm', the RebusFarm Ribbon or the buttons in your toolbar.
Before submitting your job to the render cloud, make sure you have finalized all settings in the render setup.
Via the Rebus setup, you have access to all functions for the upload.
![]()
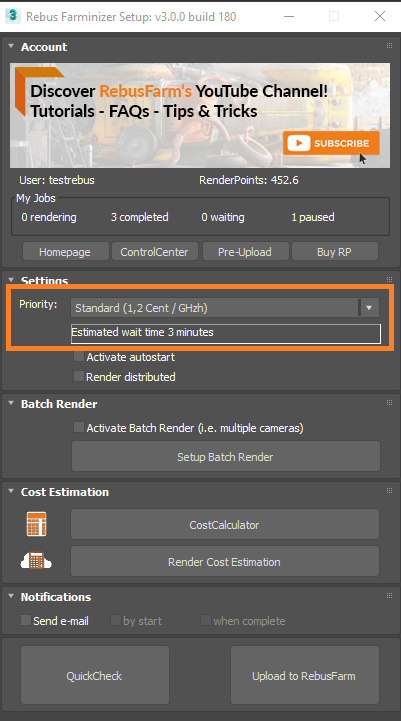
Priority: You can change the priority in the queue (this will not affect the render speed).
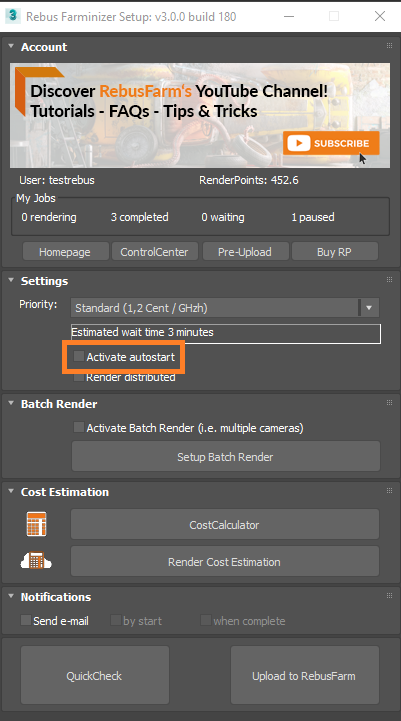
Autostart: When you select the 'Autostart' option, your job starts to render online automatically after the upload.
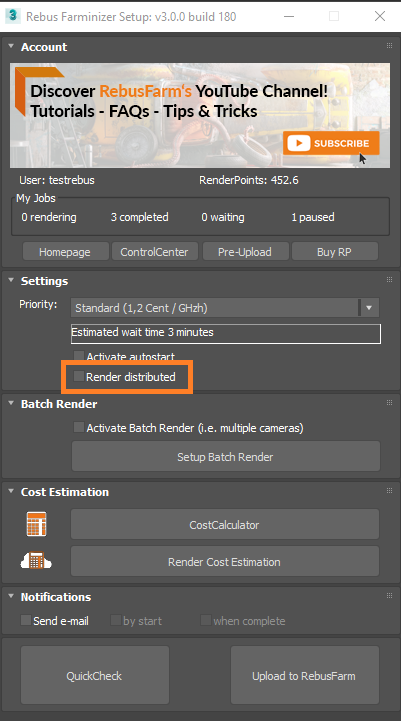
Render Distributed: Select the 'Render Distributed' option to distribute your single image render job among multiple machines in the render cloud. Remember, this option is more expensive than a single frame on a single machine, because the time of each machine will be added up at the end. However, this allows you to render much faster. This option is recommended for very high-resolution images or if you need more than 3 hours per frame on your local machine.
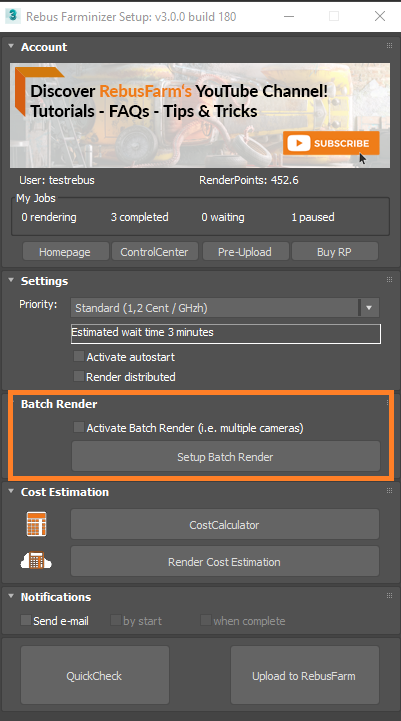
Batch render: If you activate this option, RebusFarm will transfer the Batch settings per view into separate render jobs. This way, you can generate several render jobs from just one scene and with just one upload to the render cloud.
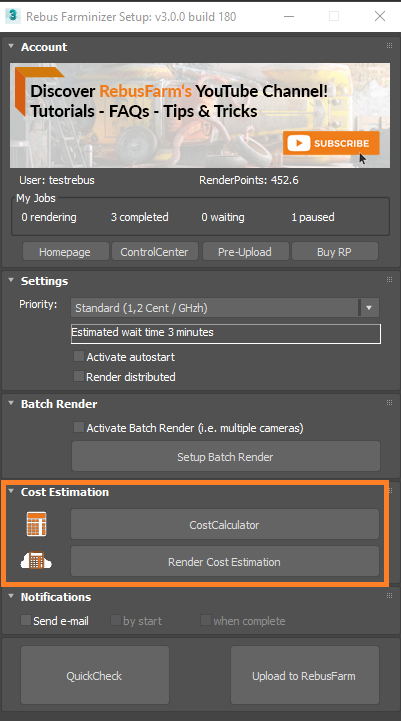
Cost Estimation: If you click the 'CostCalculator' button you will be directed to our online CostCalculator. If you click on the 'Cost Estimation' button you will perform a cost estimation based on a few test frames. Check our 'How to calculate your render cost' section for more details about the cost estimation.
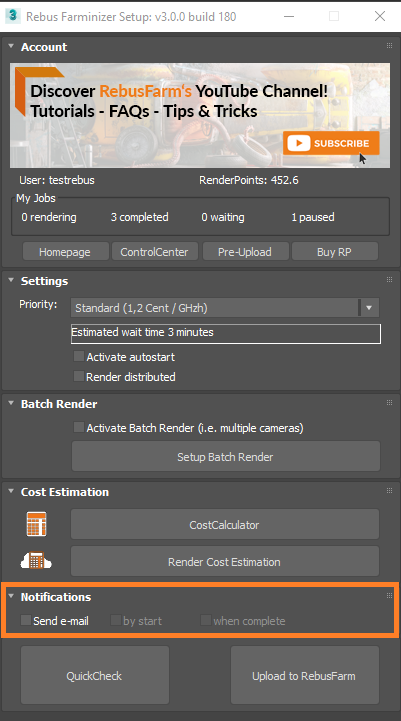
Notifications: Activate this option if you want to be notified about the status of your render job by e-mail.
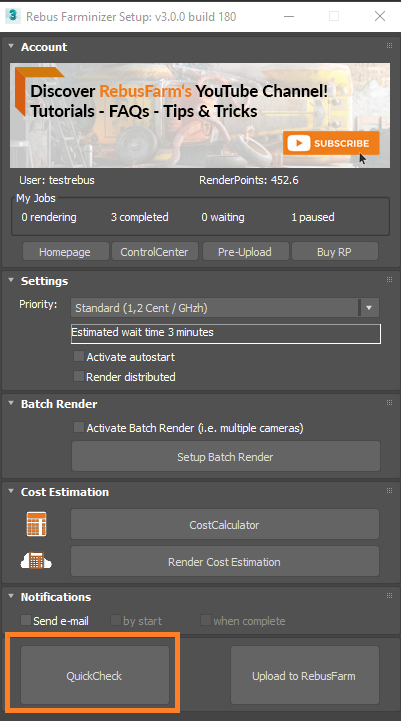
Your scene will be checked before sending. You can do a 'QuickCheck' at any time to see if your scene can be sent to render online.
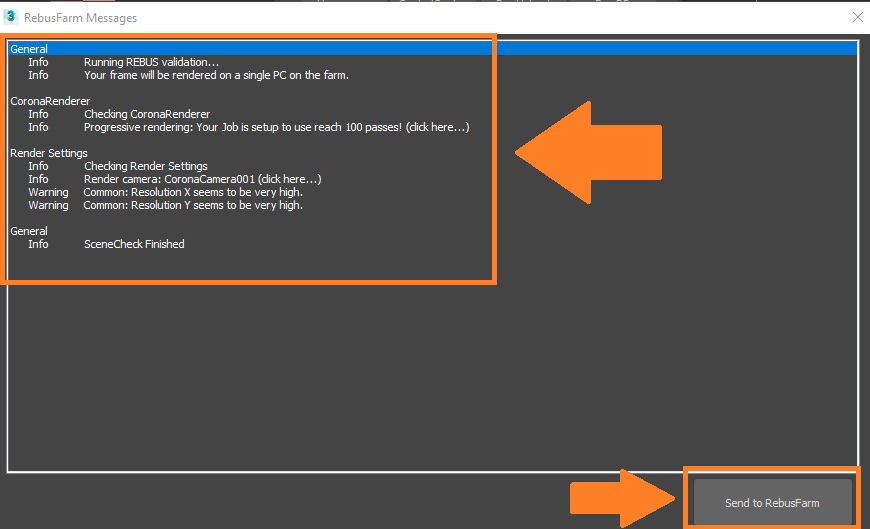
Info, warnings, and error messages will appear on the left side of the 'RebusFarm Messages window'. Info and warning messages are to double-check and can be ignored, but in case of errors, you have to fix them to be able to upload the job to the render cloud.
If everything is fine and you don’t get any error messages, click on 'Upload to RebusFarm' and the scene will be checked again, then you click on 'Send to RebusFarm'.
The Rebus Farminizer will upload your job to the render cloud, including all assets required for rendering. You can check the progress of the upload and rendering by visiting the ControlCenter. Once the upload process is completed, the rendering process will start automatically if you activated the 'Autostart render' option before uploading. If not, you will have to start the rendering manually by clicking on the 'Start render' button in the ControlCenter. Check our 'How to use the ControlCenter' section for more details about the ControlCenter.
Once the render job is completed, your results will automatically be downloaded from the render cloud to the output save path that you set in your render configuration.
