
Lots of ArchViz artists have also a great passion for automotive rendering as it's a great practice to go deeper in modeling, lighting, materials, and composition techniques. In this short making-of article, Amir Nabavi explains to us the most important tips for studio lighting according to his experience which is the way he applies and textures light sources. Enjoy!
About me.
Hi Guys,
First of all, I have to thank RebusFarm and VWArtclub for giving me the opportunity to show you how I created this studio lighting automotive scene. My name is Amir Mohammad Nabavi and I live in Qom, Iran. I think I have been in love with CG since I was born. When I got older, I started to learn 3DS Max and fell in love very fast. My Field of the study was electrical engineering at the university something completely unrelated, to be honest! Then, I realized that I couldn't forget CG, so I continued with it more professionally until my main job became architectural visualization. But let's go to see how I made this scene.
References.
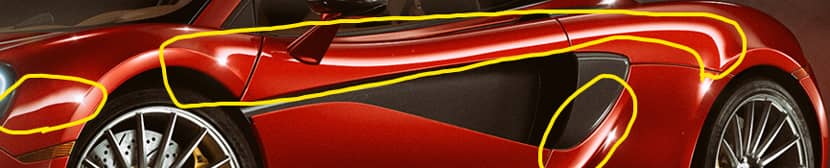
One of the most important things to be inspired by is reference images. If you don't use them you will definitely fail at your work. We always have to gather some references related to our work to use them during the creation of our projects. I show you some of my references for this work I got my inspiration for car materials and lighting.
Software Used & Scene Preparation.
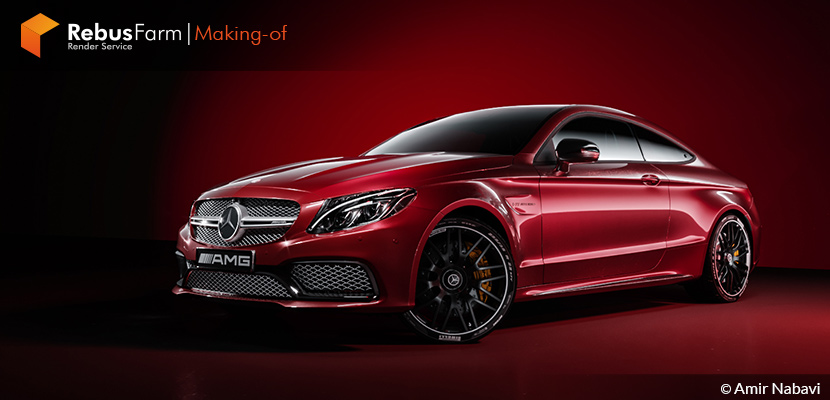
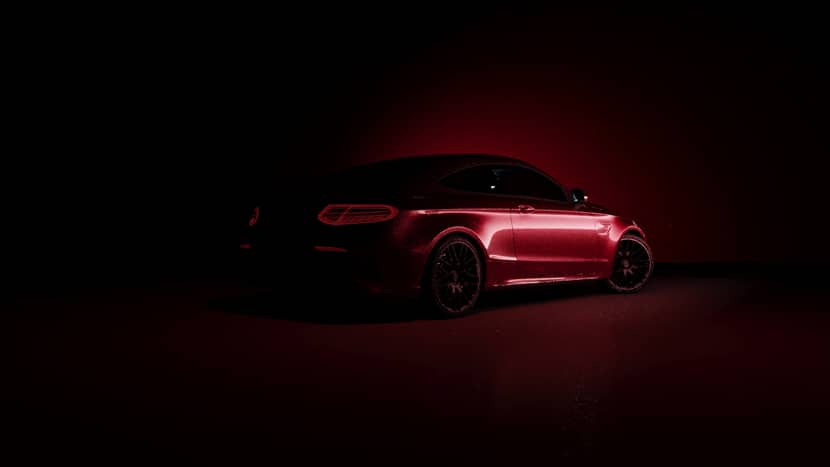
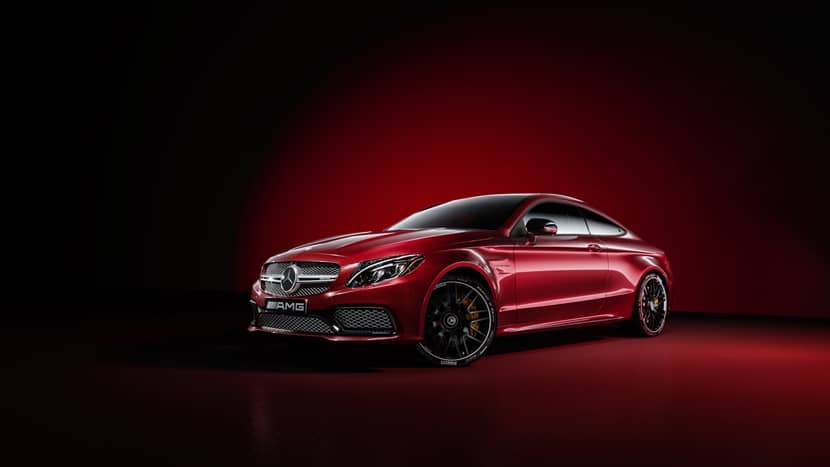
I created this scene with 3ds Max, Corona Renderer, and Photoshop. My goal in this project was to have great studio lighting and shading to approach a realistic scene so lighting is the most important part. An additional important point that I found in studio lighting is the texture you assign to the light. If you have great material for car paint but not good enough lighting then your work will be so bad and the good materials will be lost. Pay attention to the highlights on the body of the car below.
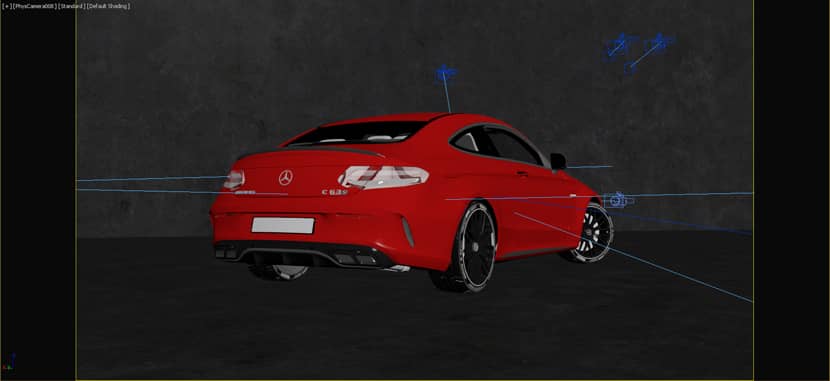
After importing the car to the scene I had to set up the cameras. For setting the several cameras, I got help from my references too. I paid attention to the angle of each camera according to the subject and created slightly different lighting for each camera. Now that I have all cameras ready let's go to materials creation.
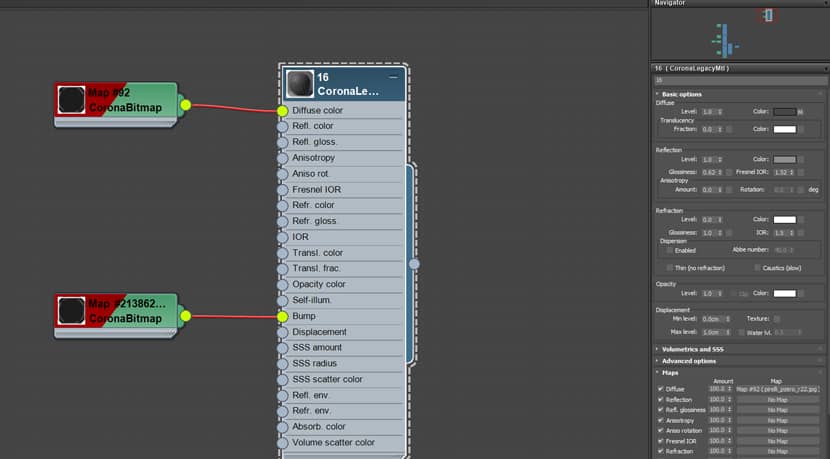
Car Paint.
I always create my materials after lighting but in studio renders I do lighting after creating the materials. But how can I understand if my materials are good or not? I just test them with a typical HDRI light map before start testing the studio lighting. You can also use the corona material library for car paint which is a really good base.
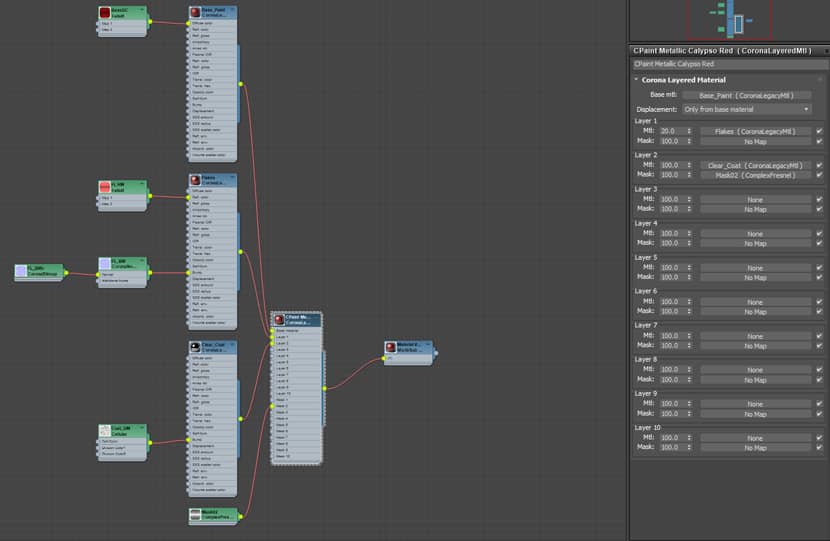 Click on the image to enlarge it.
Tire Material.
 Click on the image to enlarge it.
Glass Material.
 Click on the image to enlarge it.
As you can probably notice my materials are not that complicated. You can create and apply them easily. As I already mentioned the most important and challenging process for me is lighting. So let's don't waste time and start illuminating!
Lighting.
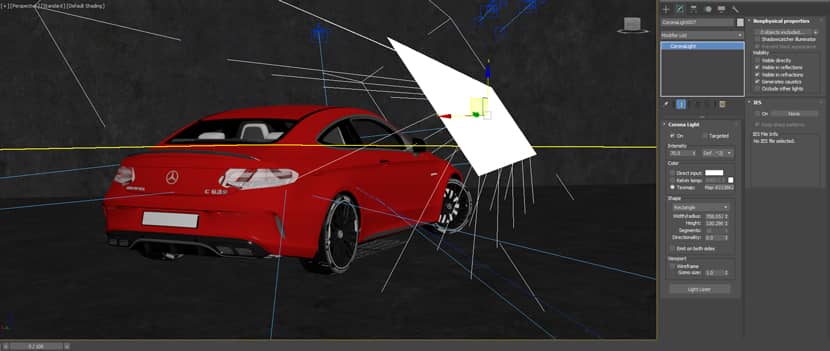
For this article, I will only focus on this angle below, but you can do the rest in exactly the same way by applying the same theory. If you notice in the reference we have a light on the car body. It's easy to create it, you just have to add a gradient map in your material editor and assign it to the light texture. Look at this test render, I created a rectangle light and assigned a gradient to the light texture.

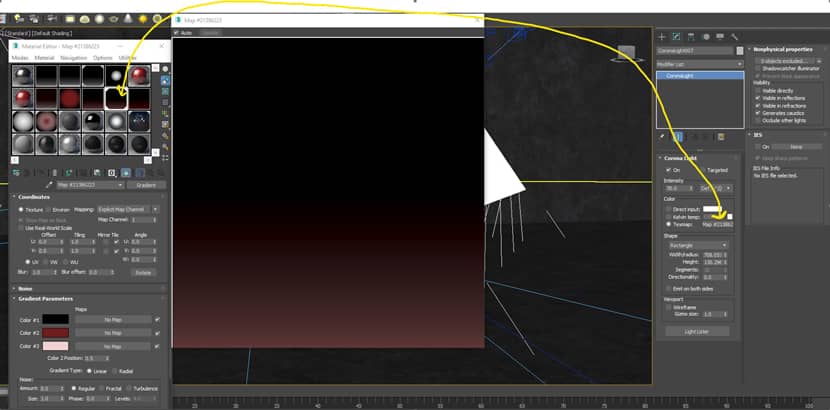
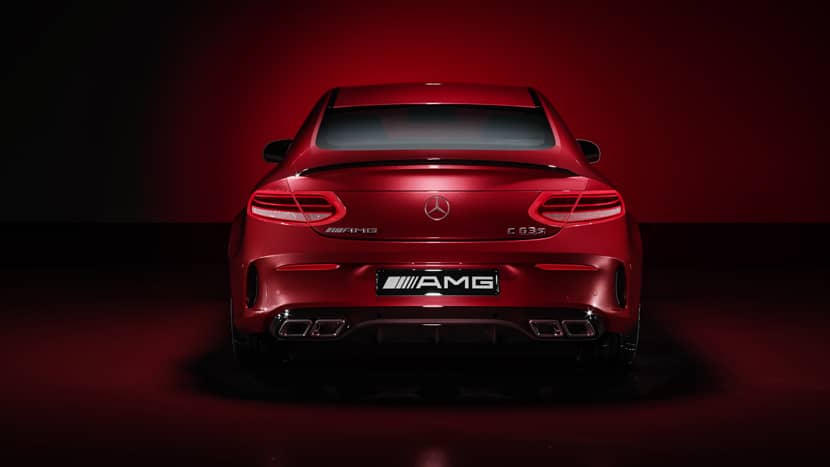
The kind of texture you have to apply depends on your purpose of lighting. I used a linear gradient for the door and around, but you can also use radial for getting another, slightly different result. Now you can add the rest lights one by one pointing to the most important parts of the car with highlights but always trying to not kill the beautiful contrast of the scene.
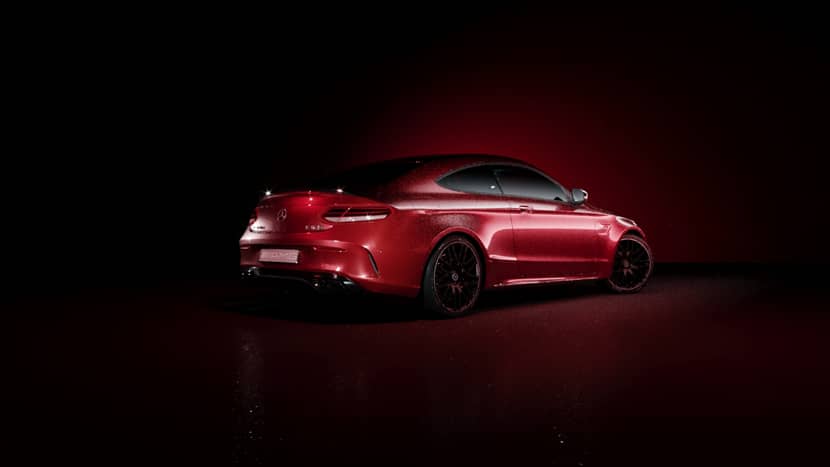
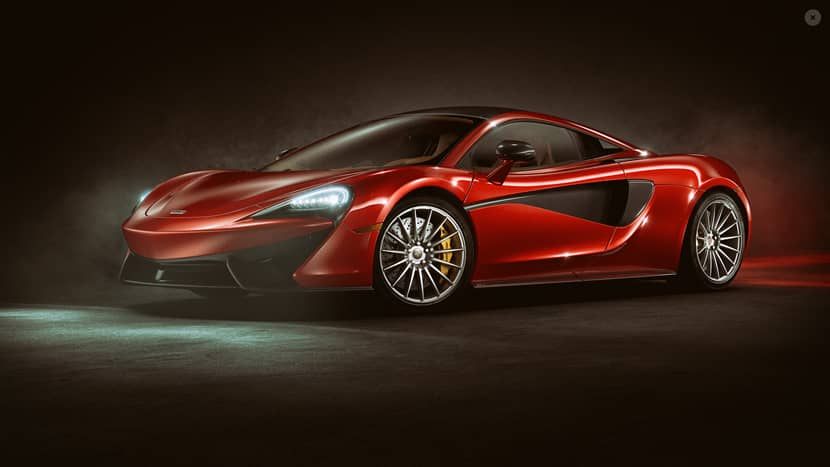
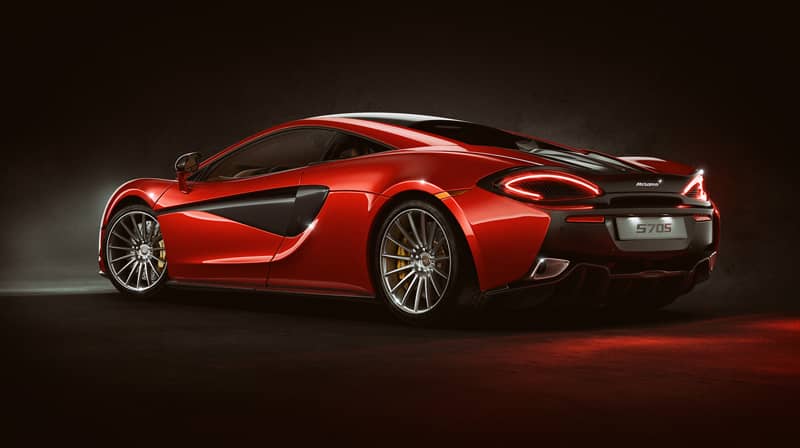
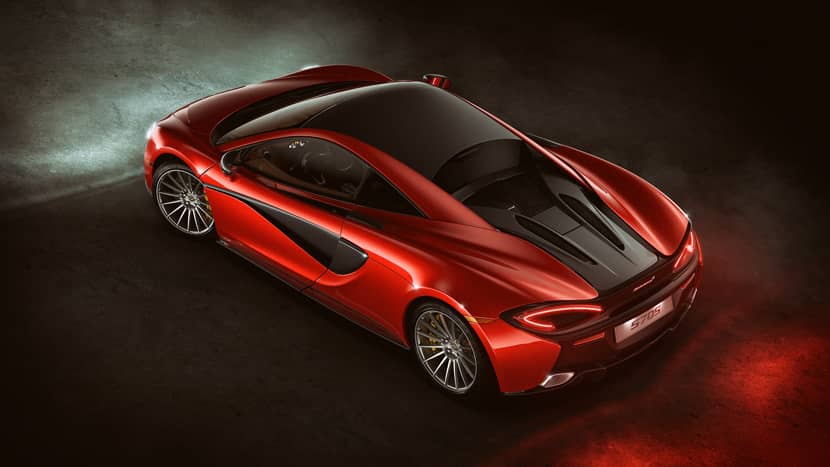
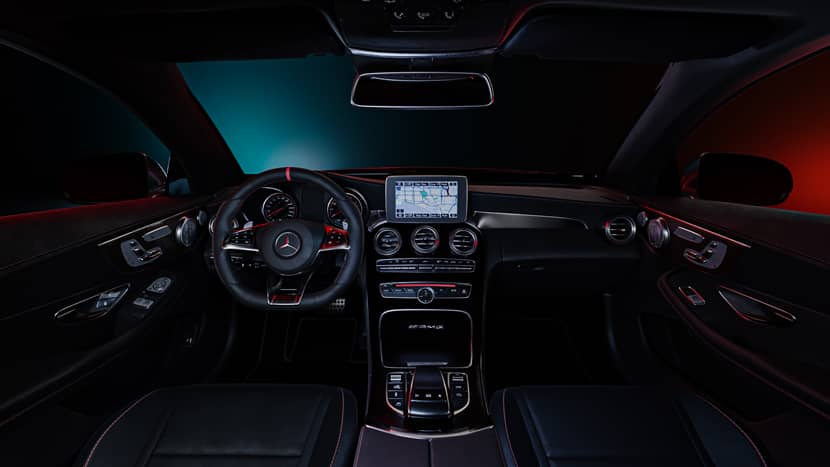
It's essential to always test your scene for each new lighting source until the last one. Keep in mind that you can use the light exclude option for some of the lights. It's a matter of taste. Below you can see my final shots:

That's all!
I hope I was able to explain this simple process correctly and that my article will be useful for you. If you have any questions, I will be happy to let you know and I will not hesitate to help. Just contact me!
With kind regards,
Amir Nabavi.
Check more of Amir's work on these channels:
Want to share your work with our community too?
Contact us at Este endereço de email está protegido contra piratas. Necessita ativar o JavaScript para o visualizar. and tell us about your favorite project.