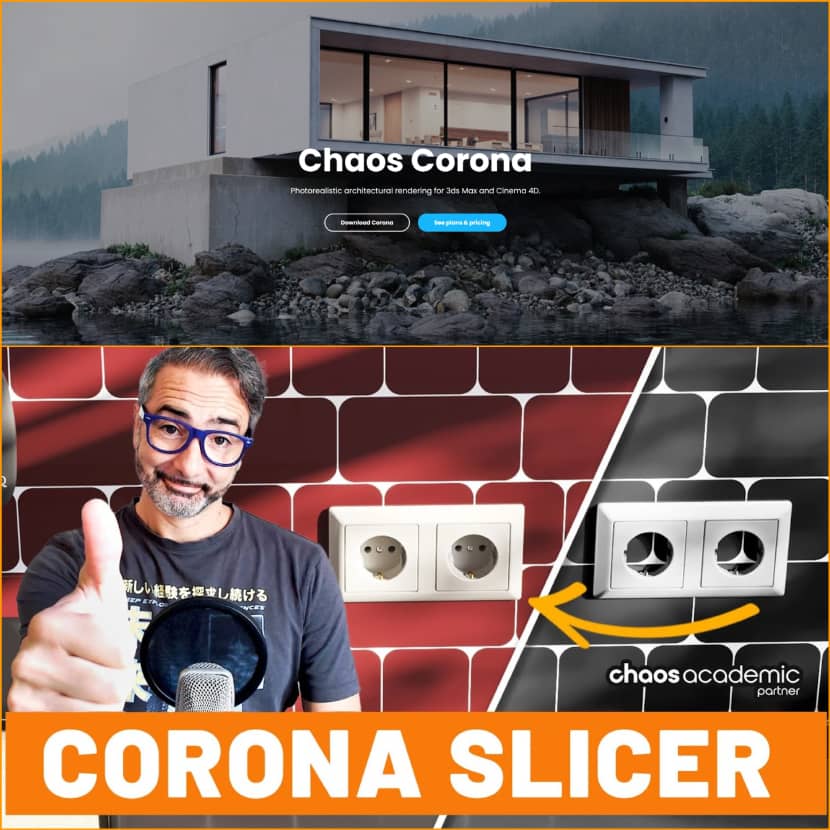
In this tutorial, Ciro introduces an efficient approach using the Corona Slicer material, a powerful tool in Corona Renderer designed to simplify tasks and enhance your workflow!
Integrating objects seamlessly into a scene can often be challenging, particularly when fitting models like sockets or light sources into walls. Traditional methods involve creating geometry and manually adjusting segments, but this can be time-consuming, especially when changes or repositioning are required.
Common Approach: The Traditional Geometry Edit.
Corona Slicer material was initially created for section views, but its capabilities extend beyond that. Here’s how we can use it creatively to cut into surfaces without altering any underlying polygons:
The Corona Slicer Solution: A New Approach.
With V-Ray 7, Chaos also introduces the new V-Ray Luminaires, an asset type that delivers even more accurate and efficient lighting. This addition helps you to achieve more dynamic lighting effects instantly, making it simple to craft detailed atmospheres and enhance the photorealism of your scene.
- Preparing the Scene: Start by reverting any geometry changes to return to the initial setup with the wall and socket model.
- Creating a Slicer Object: To carve out space for the socket, make a box representing the area to cut from the wall.
- Applying the Corona Slicer Material: Access the Corona Slicer material from the material list and use it in the box you created. This allows the box to act as a virtual “cutting tool” in the render.
- Rendering with Real-Time Adjustments: Perform a real-time render to observe the effect. You’ll notice that the geometry is sliced wherever the box intersects with other objects, creating a clean space for the socket without manual polygon editing.
- Excluding Objects from the Slice: To prevent the socket from being sliced, go into the material’s settings and add the socket to the Exclude Objects list. This step ensures only the wall is affected, leaving the socket intact within its carved-out space.
Flexibility of the Corona Slicer Material.
Easy Adjustments: Moving the socket automatically adjusts the cut in the wall, eliminating the need for re-editing geometry.
Adding More Objects: Duplicate the slicer box to create additional spaces for more sockets. For each new socket, add it to the exclusion list to avoid slicing through the object itself.
In conclusion, the Corona Slicer material is a powerful alternative to traditional editing methods, offering flexibility, speed, and non-destructive adjustments to your scene. Whether used for sections or custom cutouts, it can significantly streamline your workflow in 3ds Max. Try this technique in your next project, and experience the ease and control Corona Renderer provides.
Check the video to explore this great tip with the Corona slicer tool:
Learn Corona Renderer is an online source of tutorials, courses, tips, and tricks dedicated to exploring and learning Chaos Corona.

